
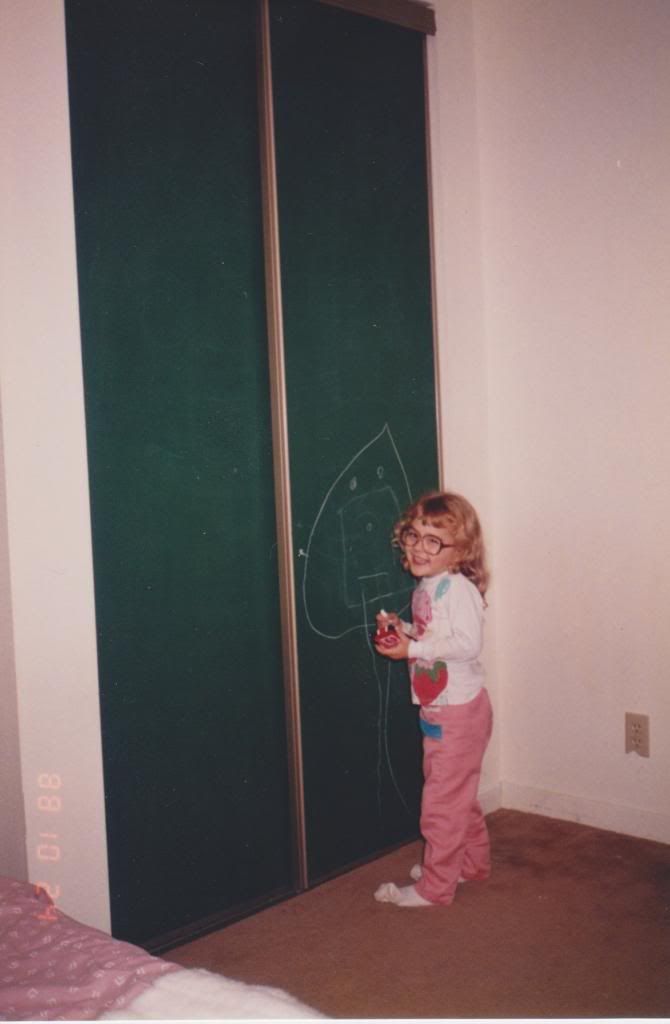
See, my mom was cool before Pinterest was even conceived. Also, you're welcome for that photo ;). I'm not sure what's going on with my socks.... ANYWAYS, decades later, I've recreated a mini version in our home.
We have one small hallway wall that is practically useless from a decorating standpoint. Right smack dab in the middle of it is a light switch and a very ugly, yellow, apartment-buzzer wall phone. I couldn't hang anything over these devices, so I decided to make a chalkboard "around" them. "My" total cost came to $42 because I was a bit wasteful by accident and picky about my chalkboard markers. However, you "can" do this for $25 if you have a few painting supplies around your home already.
Supplies:
Two small bottles of Martha Stewart's chalkboard paint from Micheal's. With online coupons: $6.71 each. Note: I could have just barely gotten away with one, but wasted some by having only a HUGE roller to apply it.
Pre-primed trim from Home Depot: $17. Obviously, this will depend on how many feet you want as it's sold by the foot, and is more or less expensive depending how thick or fancy you want it.
White paint for trim: Free because it was left over in a bucket in our closet from when I painted the crown molding.
LINT-FREE roller, paint tray, painters' tape and brush for cutting in. Free, since we also had all this in our closet already.
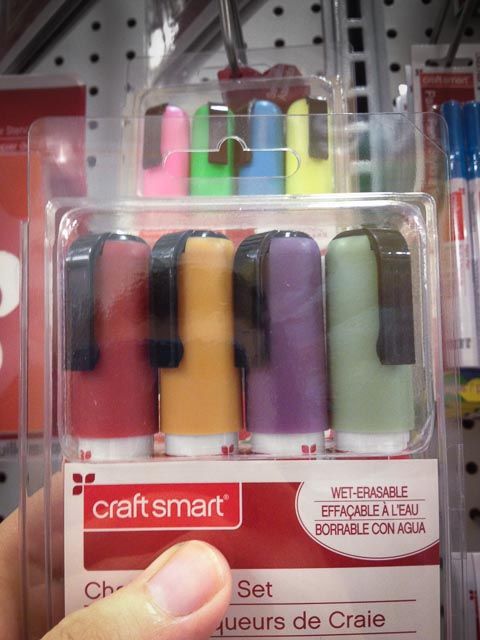
Markers (because I like them better than chalk) from Michael's with coupon: $11.19.
TOTAL: $42, but I could have done it for $35 if I had been more careful with my paint. Furthermore, if I just used regular chalk ($1 from Target), it could have come to $25.
Step-By-Step iPhoto Tutorial:
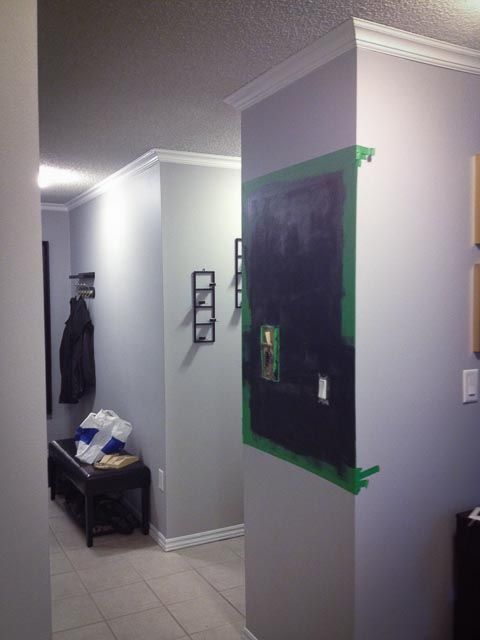
Step 1: Measure and tape off area for painting. I didn't take a photo of this, but seriously, you understand the concept I'm sure. I taped right to the edge of my wall so I could use my roller liberally without worry.
Step 2: Put on as many coats as your paint brand requires. My paint recommended two coats with a 1-hr drying time in between. I did four very thin coats instead as I was having trouble getting nice coverage with the tools I had. You can see how thin my first coat was below where you can still see the grey wall behind it.
Step 3: Peel off tape carefully once all your coats are dry. I waited until the next day to do so. Make sure you peel "away" from your chalkboard, to ensure you aren't wrecking the painted area too much if the paint is hardened to your tape. You'll be putting a trim around this, so you do have some leeway here for that.

Step 4: Paint your trim. I recommend doing this while your chalkboard paint is drying. I also don't have a photo of this. Spray paint works great, and so does regular paint.
Step 5: Find a family member or friend with a saw and have them cut your trim for you (measure carefully!). Or do it VERY carefully and slowly with a hacksaw, but this can be tricky if you are cutting on an angle for the corners like we did.
Step 6: Use very small nails (or a family member with a nail gun - thanks, Dad!), and carefully attach to the wall. This is lightweight. You don't need to find studs to mount it in. You can use a little spackle and paint to go over the nail holes afterwards if they bother you. Your flooring may magically change as well just like ours did here ;)
Most of you would be all done now! I on the other hand, had a few more steps:
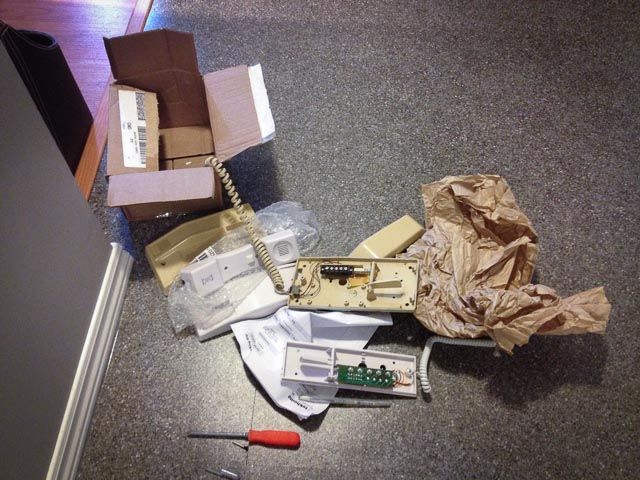
Step 7: Realize your phone is super gross and ugly, and also broken. Order a new one. I will NOT tell you how expensive that was. Okay, maybe I will. It was $91. Re-tard-ed. The lesson here would be, don't continually knock it off the wall onto the floor and then you could have just painted the old one vs. buying a new working one. I digress.
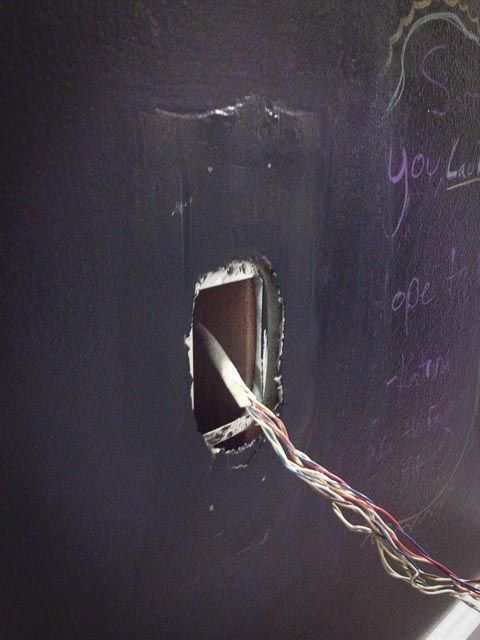
Step 8: Play electrician, and then bring in a professional. Thankfully covered by the strata ;)
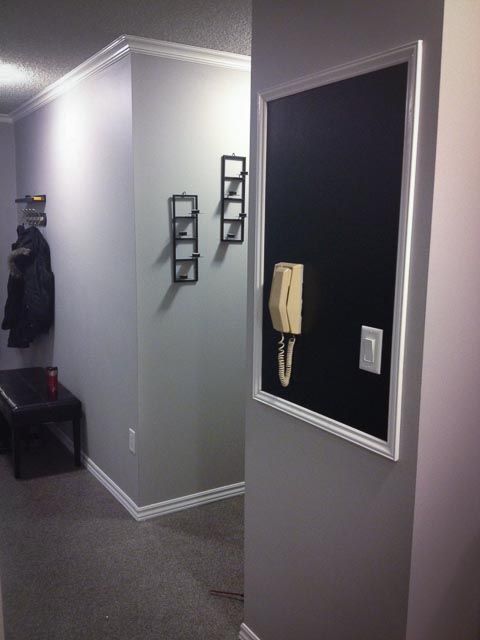
Step 9: Realized your new phone is much SMALLER than the old one and have to spackle, patch and paint the area to the best of your ability.
Step 10: Once new phone is attached, enjoy!

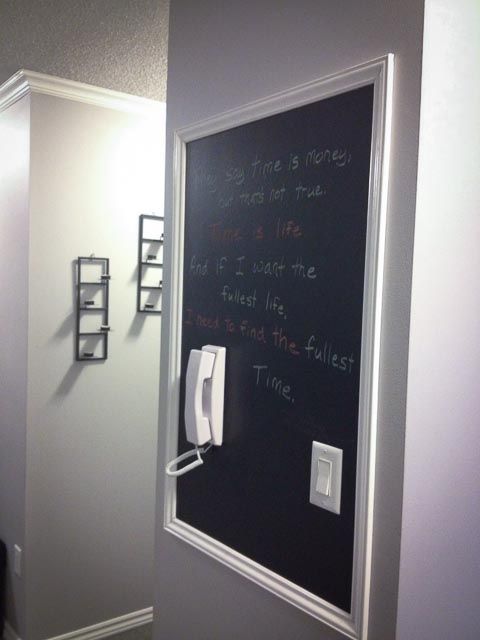
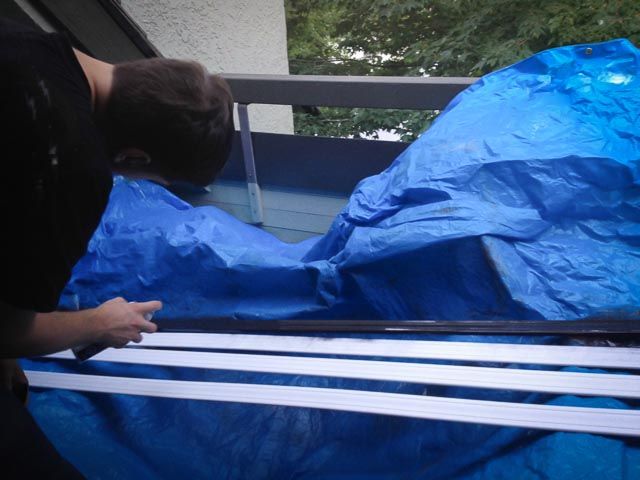
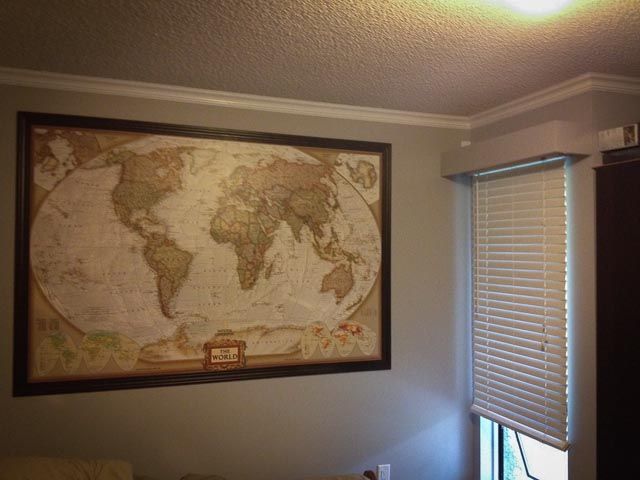
Exhibit A: Large ordinary wall map:
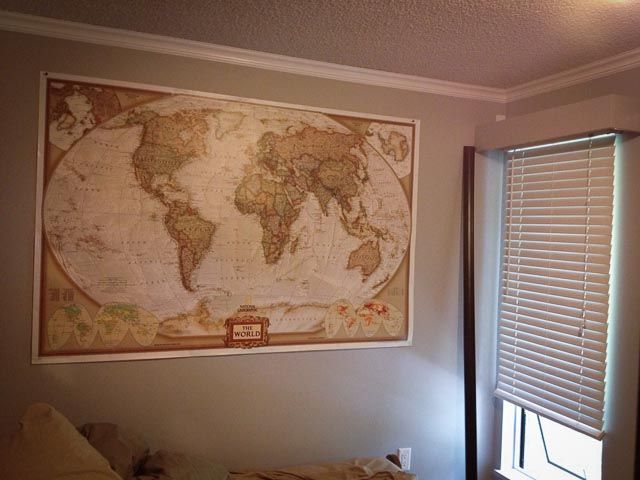
Following pretty much the same steps as above, we purchased trim; spray painted it black-brown to match the furniture in the room (which you can just barely see off to the right of the finished picture below); got my dad to cut and nail it to the wall, and then painted in the nail holes. Hopefully this will hold it flat much better than putty could. It really takes a couple people to pull it taught so that it doesn't sag behind the trim. We also put nails in every 10 inches or so to make sure it was tight.
We managed to squeeze in these projects in the midst of redoing the floors. It made for a busy, busy weekend, but it feels so good to have them finally done! These have both been on my "I should really do that" list for the last couple of years :).


It looks awesome and the frame is a great idea! Good job Laur. Also, love the photo of you as a kid. So great
ReplyDeleteThanks! Got the idea of old photos from you my dear :)
DeleteLove your wall Chalkboard!
ReplyDelete