Wednesday, October 30, 2013

Night of Creation 2013

For the past few years, our church has hosted what we call "Nights of Creation".  It's an awesome idea where they decorate up the church for an evening once a year and invite various artists from all over the city to contribute their work.  There is live music and appetizers (food is art, right?).  There are displays of paintings, models, photographs, videos and much more.  It's a place to share the gifts God has given you as well as to meet and socialize with other artists in the community.

There's just one thing.  I really struggle with calling myself an artist.  I feel pretentious every time I do it.  Aren't artists supposed to be these wonderful free spirits that walk around oozing creativity and procrastinating?  (Don't ask me where I got that definition from).  I'm just so not that person.  I am type-A in the EXTREME.  I am not a "free spirit".  I love structure and rules and organization.  Deadlines are my best friend because I like to BEAT them.  I don't do procrastination.  And I feel like I have to work and dredge every bit of creativity out of myself.  I'm probably the only person on the worship team at church that HAS to practice.  Everyone else "seems" to just get up there and improvise.  Also, I sit for hours researching, shooting and editing the "perfect shot".  I don't walk around with my camera capturing these beautiful happy accidents.  I'm way too methodical and anal of a personality for me to feel like, "Oh yes, I'm an artist".  My career should be something like lawyer, accountant, etc.  But my husband?  He's the artist.  He's the one that can sit around and conceptualize ideas and gets visibly excited when the creative juices start to flow.  I'm the one that's like, "Just pick something.  There, that's cool.  We should do that.  Let's make it happen - by tomorrow."  I suppose that's what makes us a good team.  So, in conclusion, I guess I'm just "me".  I never really did fit the social norms.  So here is "me" sharing what I made with you.

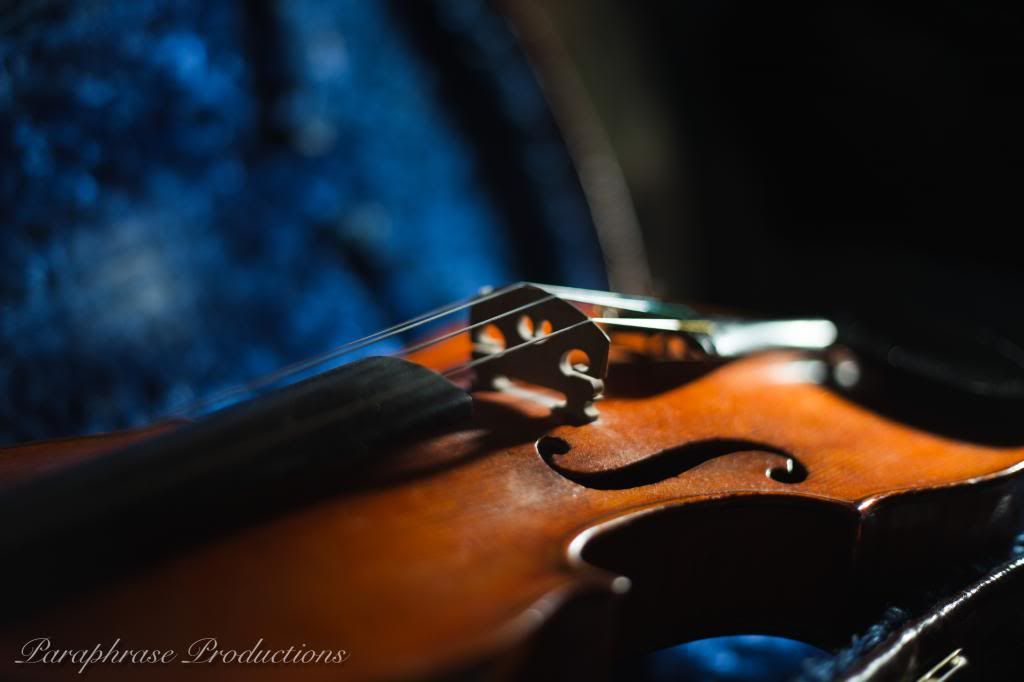
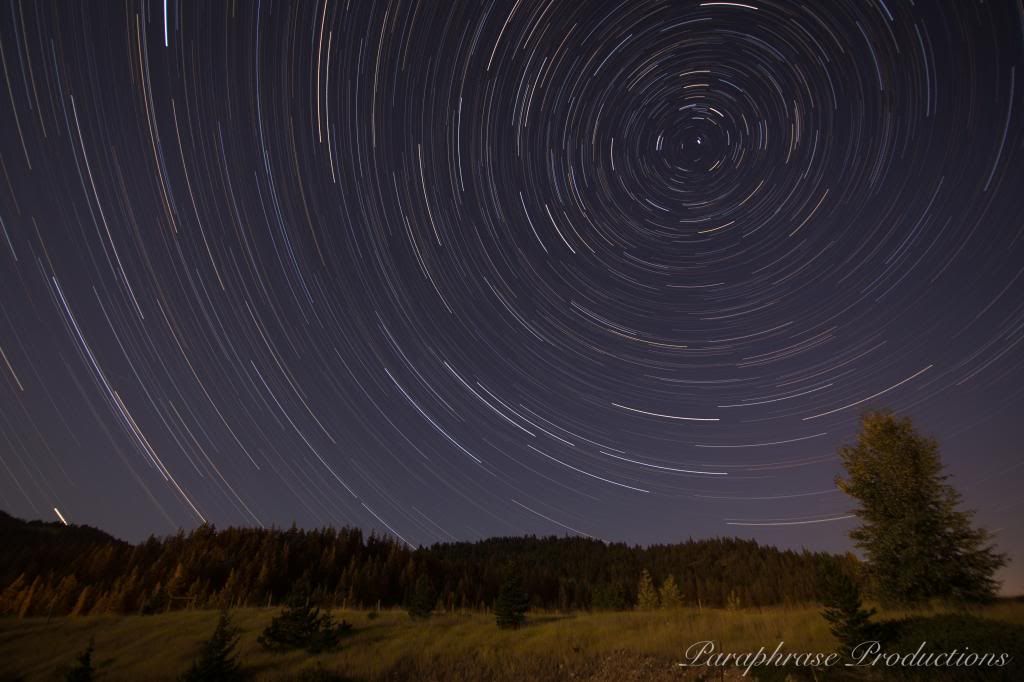
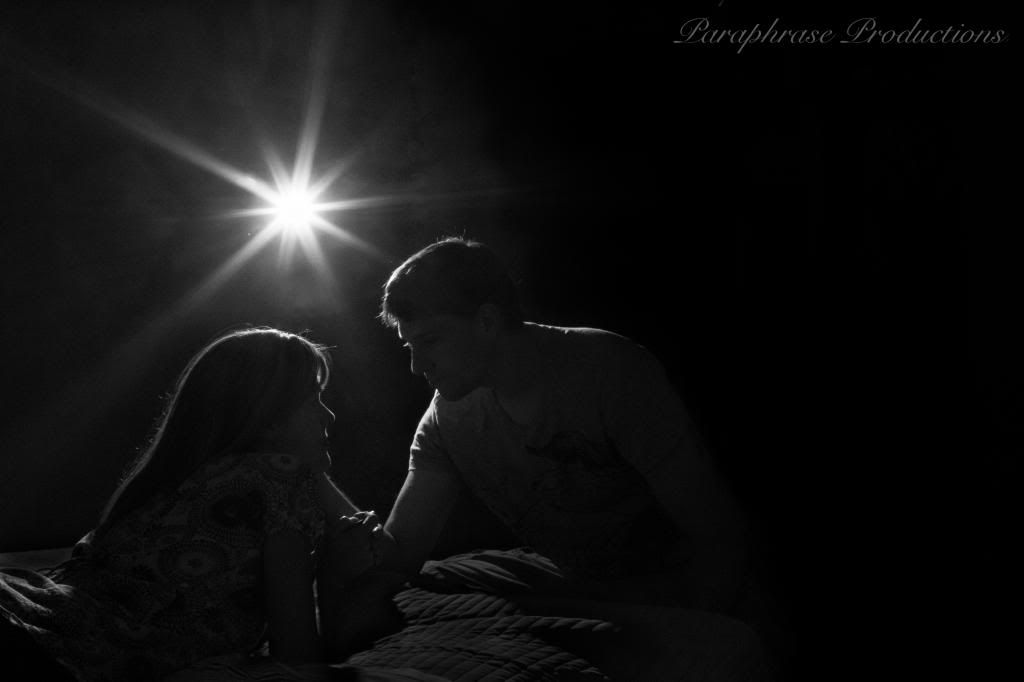
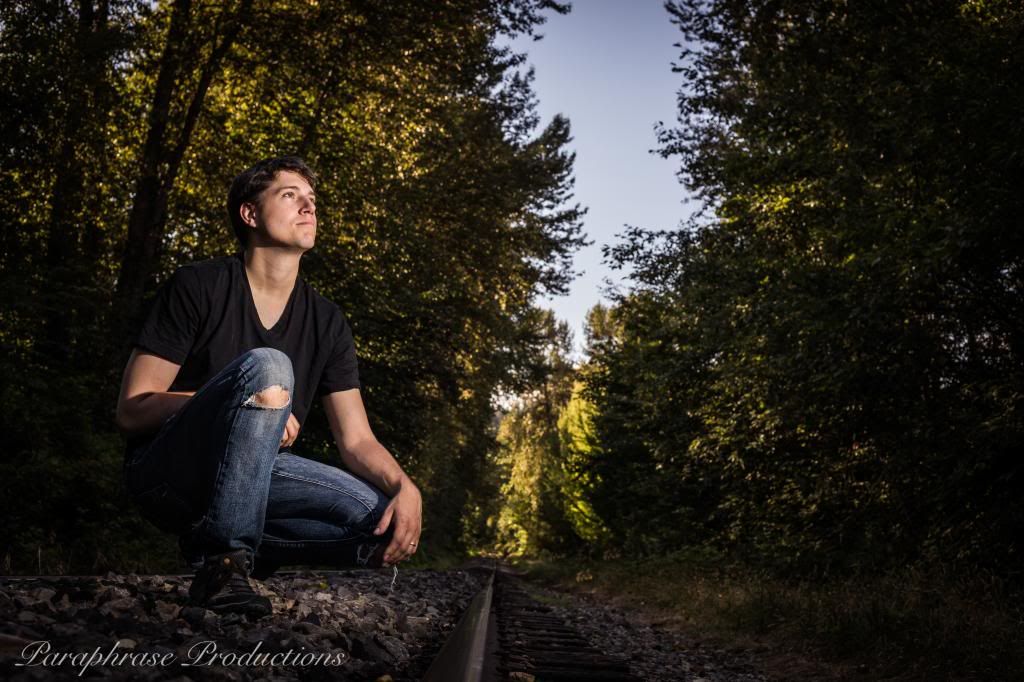
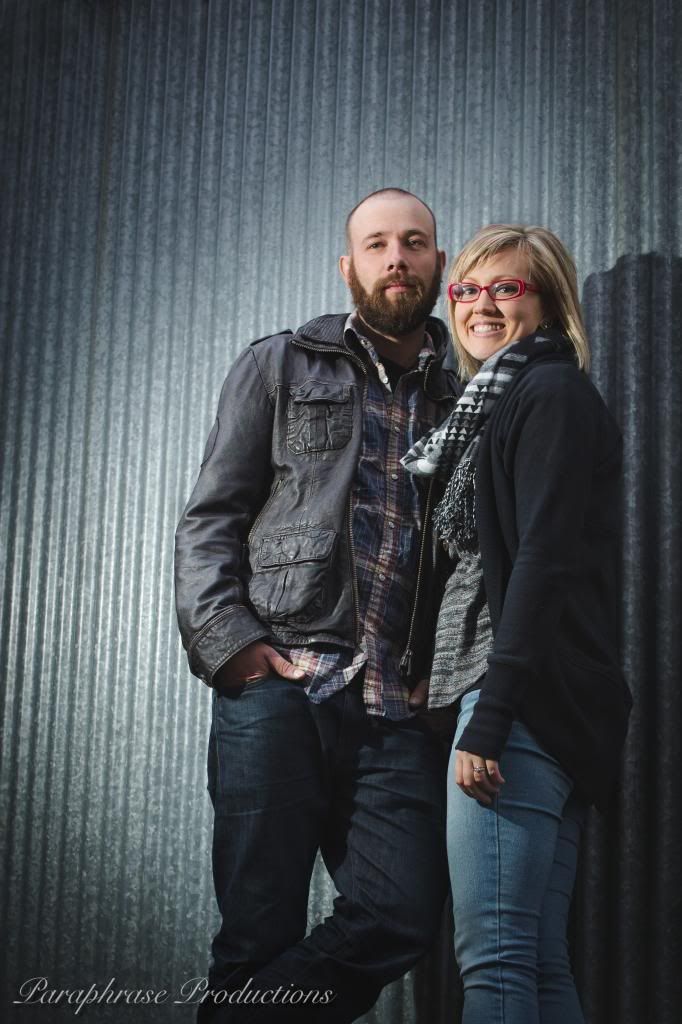
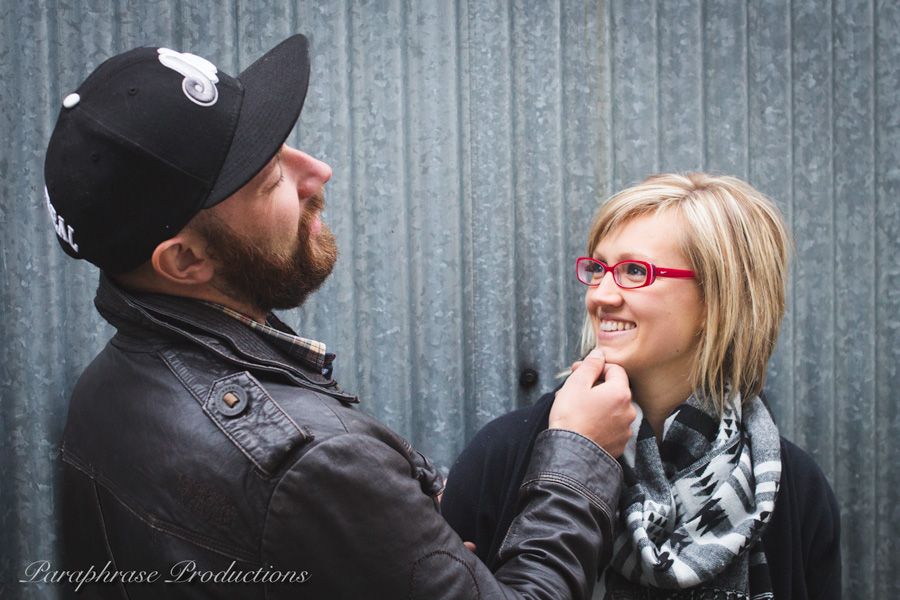
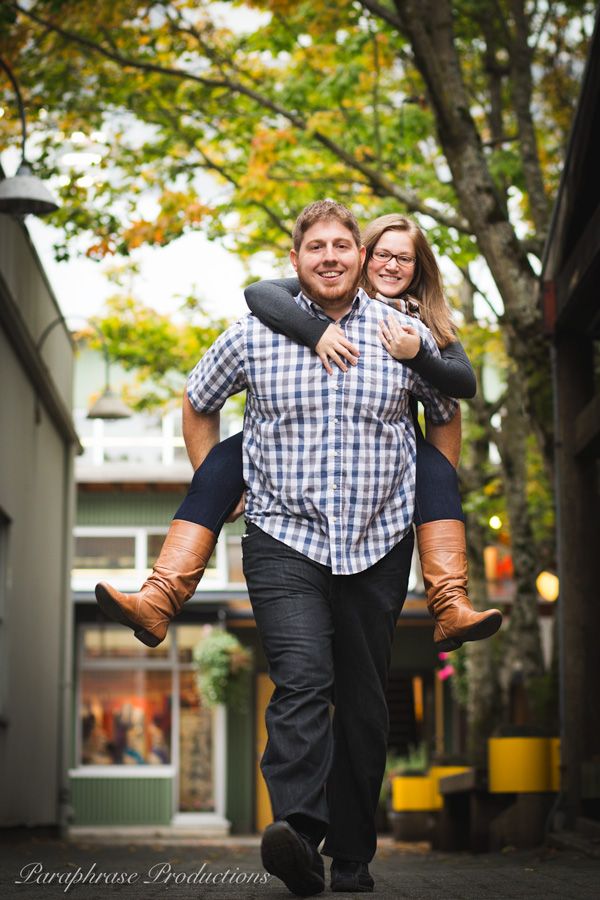
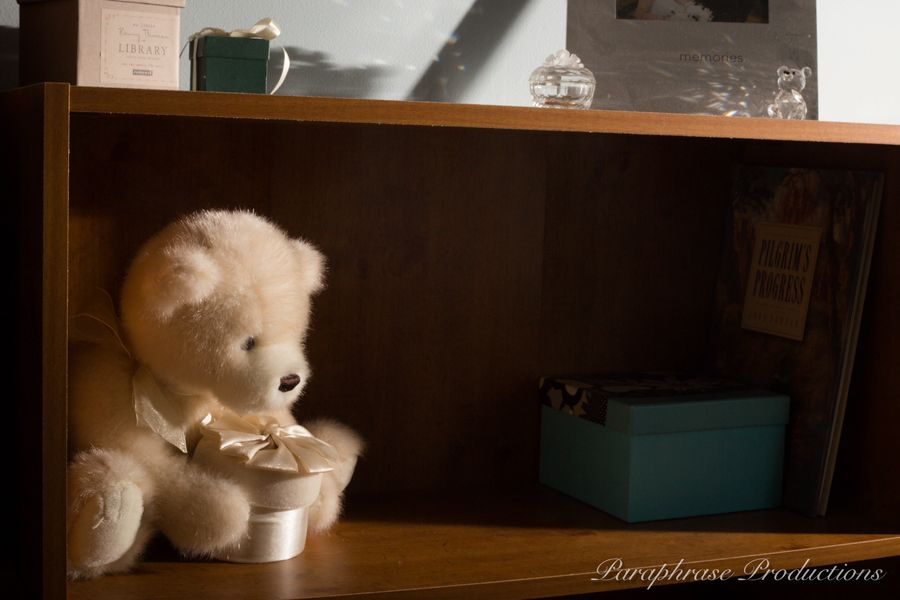
My 2013 submissions to our annual Night of Creation:


Tuesday, October 8, 2013

Mitchell / Morgon / Maxwell Family Photo Shoot 2013

On Friday, my husband and I got to do our first "official" shoot together since deciding we are going to start our own little photo / video company in the new year.  My good friend, Tara, (brown glasses, fifth picture below) hired Nick and I to capture her family.  She has also given me permission to share a little background information regarding this shoot.

Her mom has Alzheimers and it's getting worse quickly.  Tara has written a beautiful post about her mom and this awful disease HERE if you are interested.  The family wanted to capture both some memories as well as their mom's spirit.  I'm not going to lie - this was probably one of the harder shoots I've done / will have to do.  Two very energetic little boys.  A big family of eight (Mom, Dad, Tara & Husband, Sister Jenna & Husband & their two Boys).  Trying to engage Tara and Jenna's mom who wasn't always sure of what was going on and tired quickly.

A lot of the shots they wanted were bigger group shots and family combinations with their mom to have as keepsakes, which I was more than delighted to be able to provide for them.  However, most of the photos sampled below are from some of the smaller combinations of people and candid moments, as those are the most fun for me to shoot as a photographer, and thus those images easily become my favourites of the bunch.  Enjoy :)


Saturday, September 14, 2013

How Much Would You Go Through For One Shot?

I got probably the coolest shot I've ever taken last night.  Not necessary my best shot ever, but definitely my "coolest".  There were a lot of pros and cons that went into getting it, but in the end it was totally worth it.

Cons:

Having to drive 200km EACH WAY to get to the location and back.  We had to 1. get away from any city light pollution; 2. clear all the smog and mist on this side of the mountains; 3. get to where the mountains opened up to a big sky facing north; and 4. find a place to park off the highway where you couldn't see the passing vehicle lights.

Using 2/3rds of an entire tank of gas for ONE photo with current gas prices.... eek.

Staying up til past 2am in order to get out there, get home and have BARELY enough time to shoot (we only had about half the amount of time I had hoped for, as the picture would have been even more awesome if we could have tracked the stars longer than a mere 92 minutes).

Having do it on a night that Nick had to work the next day.  He drove the entire way while I fell asleep, and thus he is my absolute hero.

Suffering the next day.  My body does not, repeat: does NOT, handle staying up past midnight well at all.  I've felt kind of sick, had a headache and have done nothing all day except sleep and watch movies and edit photos.  (Okay, okay, I know what you're thinking, but it counts as a con when you had other things you were hoping to do).

Irritating my foot on the rough terrain wasn't my favourite, but I am giving it lots of rest today in penance.

Reading a LOT of material to make sure it turned out better this time than our first attempt.  All that math made my brain remember high school.

Glaring light from the moon!  This was a con and a pro.  It was SO BRIGHT, the stars were disappointingly dim.  However, it did light up the foreground nicely!


Pros:

It was an adventure, a memory and a very unique date night.  After the busiest 5 months of our entire lives, I still feel like I'm in "seeing my husband withdrawal", and I cherish and appreciate every moment we get to spend together like this.

Exploring long, dark, dirt logging roads in the mountains trying to find a location in the dark.  While it was frustrating trying to find a good spot while prime shooting time was ticking past us, it was fun to go exploring into the dense forests with our windows rolled down letting in the thick smell of pine and mountain air.

With the perfect internet reception we unexpectedly found at the very top of the mountains, we hot-spotted my laptop that was in the car since Nick picked me up straight from work.  We put the seats back, grabbed all the blankets from the trunk and watched Netflix together to pass the time.  Ultimate drive-in movie.

I had an intervalometer this time so once I got the camera set up, I walked away and didn't touch a thing until it was time to go home.  It was a bit nerve wracking to have only ONE shot at it working, but it turned out fine.  Thank goodness for Nick suggesting we do one final trial run before we walked away, as I had one setting on my camera incorrect that would have ruined the entire thing without us even knowing until too late.

Having a husband that supports me in all my adventures, and drives me home when I'm too tired from them.  Having friends that loan me lenses and give me advice on how to improve.  Having a good relationship with a rental house guy who totally let me have his intervalometer for free all weekend :)


All of that, just for this:


Monday, September 9, 2013

DIY Wall Chalkboard Project and DIY Map Framing Project

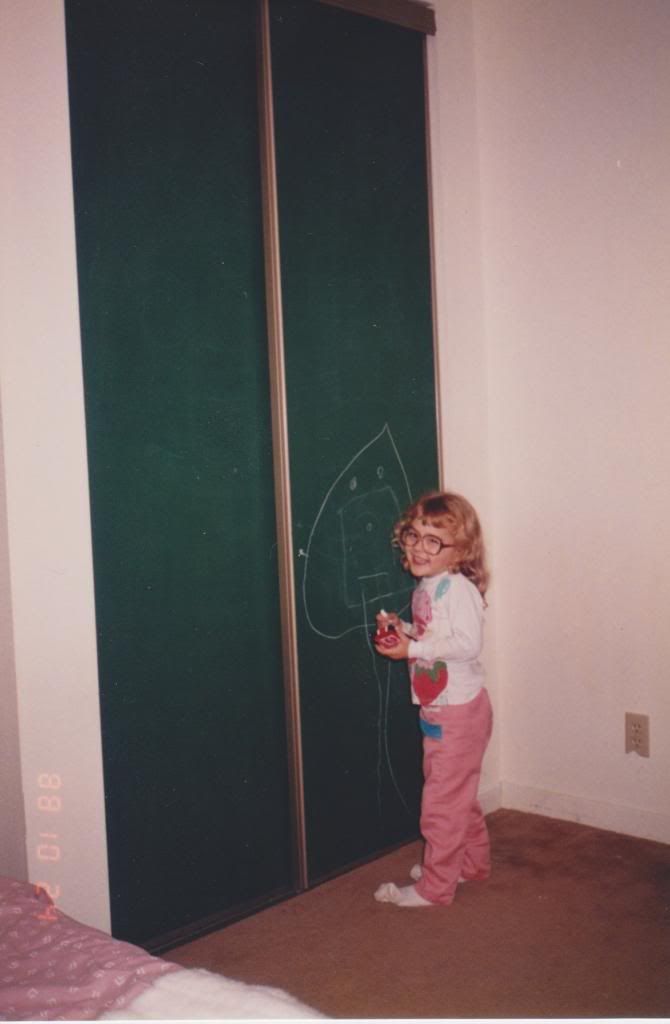
When I was a little girl, in my very first bedroom ever, my mom painted my floor-to-ceiling closet doors with green chalkboard paint.  It was awesome.


See, my mom was cool before Pinterest was even conceived.  Also, you're welcome for that photo ;). I'm not sure what's going on with my socks.... ANYWAYS, decades later, I've recreated a mini version in our home.

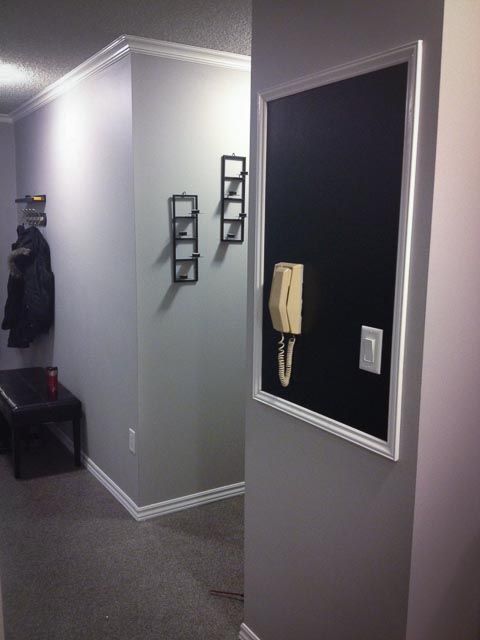
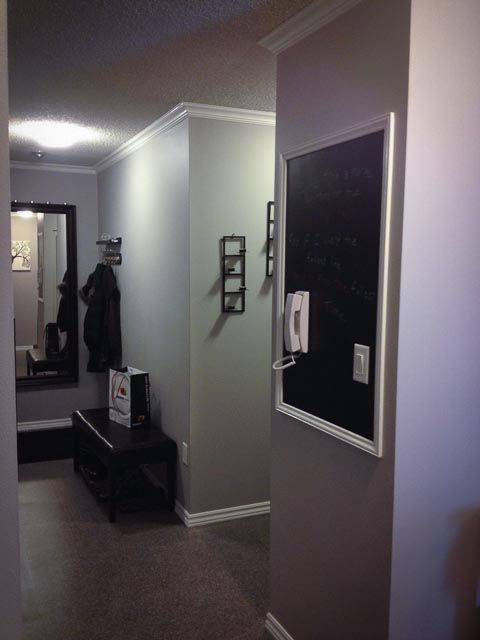
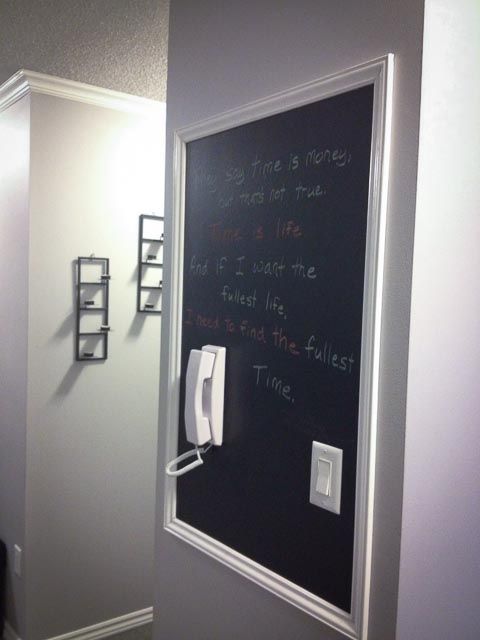
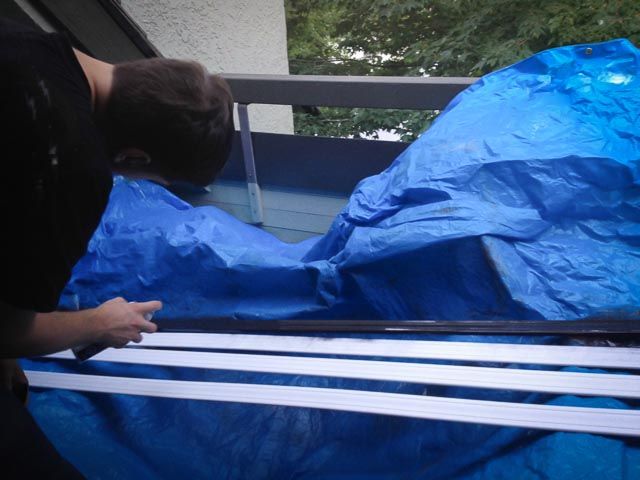
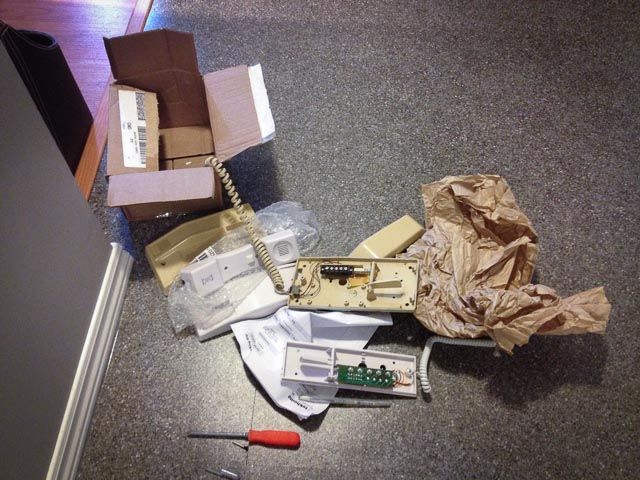
We have one small hallway wall that is practically useless from a decorating standpoint.  Right smack dab in the middle of it is a light switch and a very ugly, yellow, apartment-buzzer wall phone.  I couldn't hang anything over these devices, so I decided to make a chalkboard "around" them.  "My" total cost came to $42 because I was a bit wasteful by accident and picky about my chalkboard markers.  However, you "can" do this for $25 if you have a few painting supplies around your home already.

Supplies:

Two small bottles of Martha Stewart's chalkboard paint from Micheal's.  With online coupons: $6.71 each.  Note:  I could have just barely gotten away with one, but wasted some by having only a HUGE roller to apply it.  

Pre-primed trim from Home Depot:  $17.  Obviously, this will depend on how many feet you want as it's sold by the foot, and is more or less expensive depending how thick or fancy you want it.

White paint for trim:  Free because it was left over in a bucket in our closet from when I painted the crown molding.

LINT-FREE roller, paint tray, painters' tape and brush for cutting in.  Free, since we also had all this in our closet already.

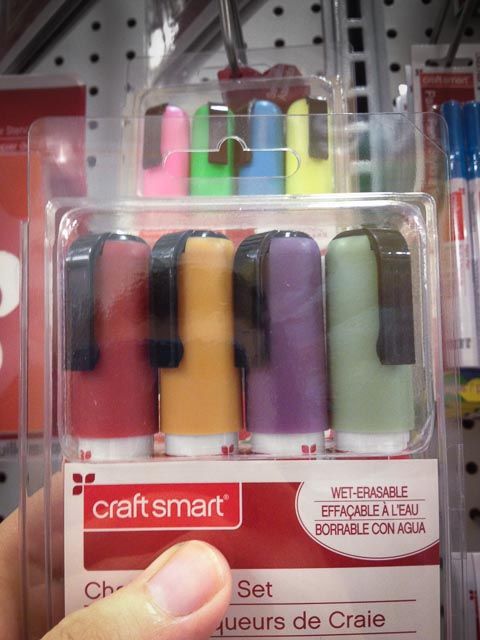
Markers (because I like them better than chalk) from Michael's with coupon:  $11.19.


TOTAL:  $42, but I could have done it for $35 if I had been more careful with my paint.  Furthermore, if I just used regular chalk ($1 from Target), it could have come to $25.


Step-By-Step iPhoto Tutorial:

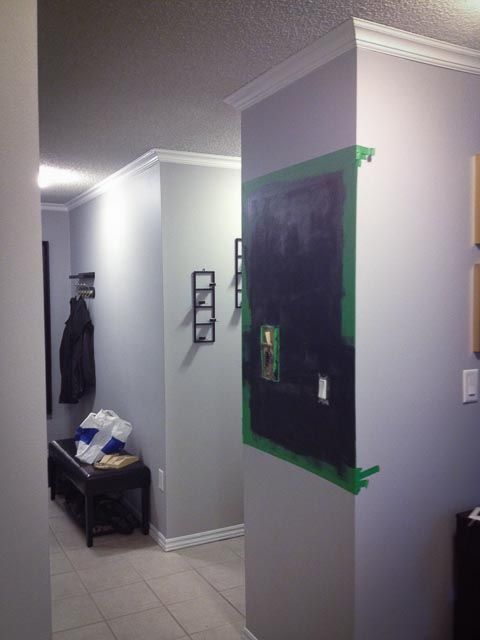
Step 1:  Measure and tape off area for painting.  I didn't take a photo of this, but seriously, you understand the concept I'm sure.  I taped right to the edge of my wall so I could use my roller liberally without worry.

Step 2:  Put on as many coats as your paint brand requires.  My paint recommended two coats with a 1-hr drying time in between.  I did four very thin coats instead as I was having trouble getting nice coverage with the tools I had.  You can see how thin my first coat was below where you can still see the grey wall behind it.


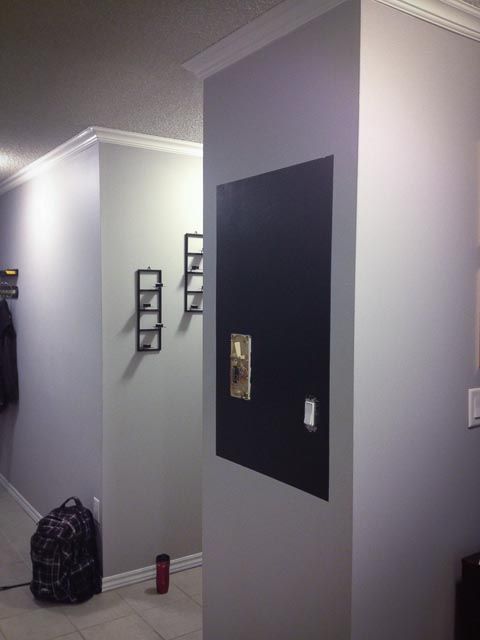
Step 3:  Peel off tape carefully once all your coats are dry.  I waited until the next day to do so.  Make sure you peel "away" from your chalkboard, to ensure you aren't wrecking the painted area too much if the paint is hardened to your tape.  You'll be putting a trim around this, so you do have some leeway here for that.


Step 4:  Paint your trim.  I recommend doing this while your chalkboard paint is drying.  I also don't have a photo of this.  Spray paint works great, and so does regular paint.

Step 5:  Find a family member or friend with a saw and have them cut your trim for you (measure carefully!).  Or do it VERY carefully and slowly with a hacksaw, but this can be tricky if you are cutting on an angle for the corners like we did.

Step 6:  Use very small nails (or a family member with a nail gun - thanks, Dad!), and carefully attach to the wall.  This is lightweight.  You don't need to find studs to mount it in.  You can use a little spackle and paint to go over the nail holes afterwards if they bother you.  Your flooring may magically change as well just like ours did here ;)


Most of you would be all done now!  I on the other hand, had a few more steps:

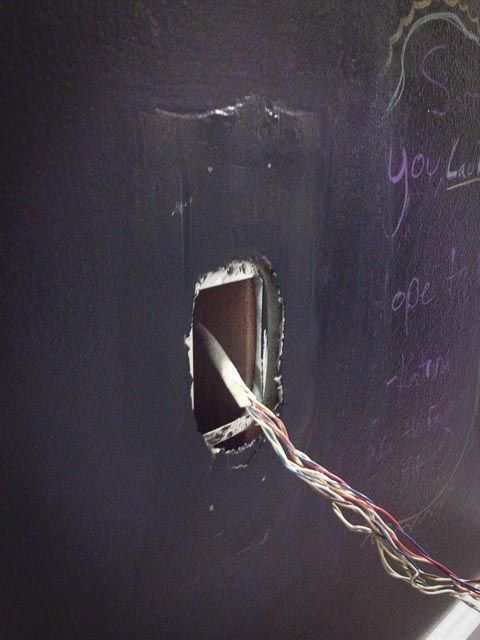
Step 7:  Realize your phone is super gross and ugly, and also broken.  Order a new one.  I will NOT tell you how expensive that was.  Okay, maybe I will.  It was $91.  Re-tard-ed.  The lesson here would be, don't continually knock it off the wall onto the floor and then you could have just painted the old one vs. buying a new working one.  I digress.

Step 8:  Play electrician, and then bring in a professional.  Thankfully covered by the strata ;)


Step 9:  Realized your new phone is much SMALLER than the old one and have to spackle, patch and paint the area to the best of your ability.


Step 10:  Once new phone is attached, enjoy!


For those of you that made it to the very end, here's a little simultaneous project we worked on.

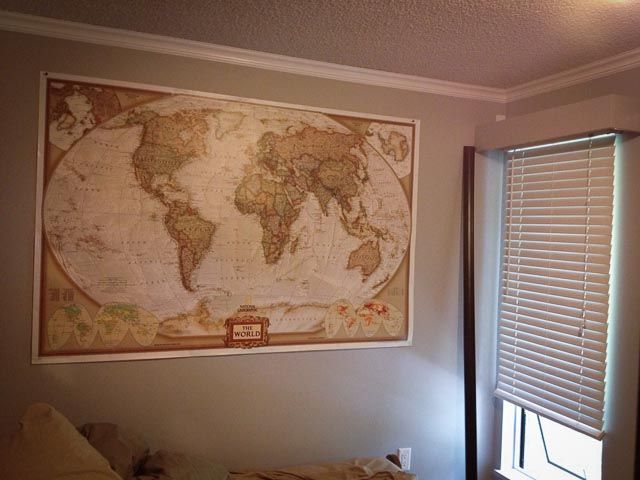
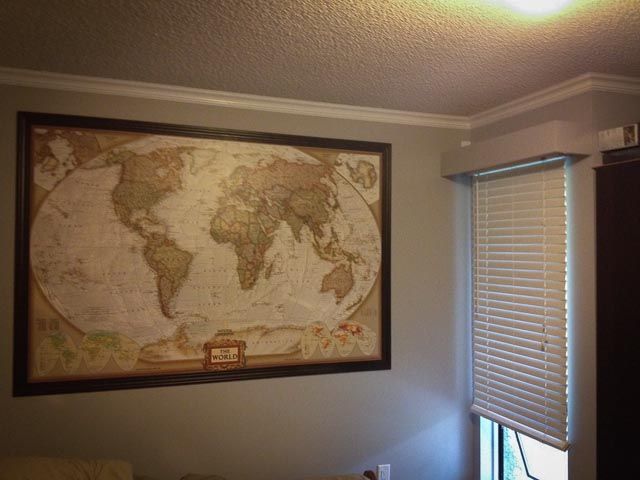
Exhibit A:  Large ordinary wall map:


Following pretty much the same steps as above, we purchased trim; spray painted it black-brown to match the furniture in the room (which you can just barely see off to the right of the finished picture below); got my dad to cut and nail it to the wall, and then painted in the nail holes.  Hopefully this will hold it flat much better than putty could.  It really takes a couple people to pull it taught so that it doesn't sag behind the trim.  We also put nails in every 10 inches or so to make sure it was tight.  


We managed to squeeze in these projects in the midst of redoing the floors.  It made for a busy, busy weekend, but it feels so good to have them finally done!  These have both been on my "I should really do that" list for the last couple of years :).


Wednesday, August 14, 2013

Off-Camera Flash Portfolio

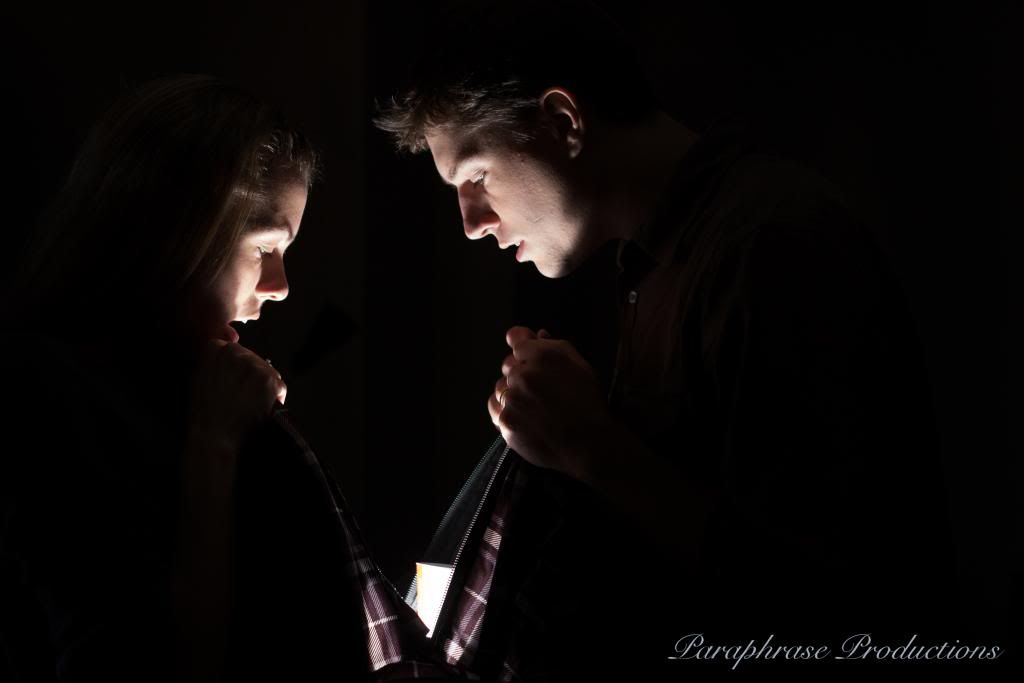
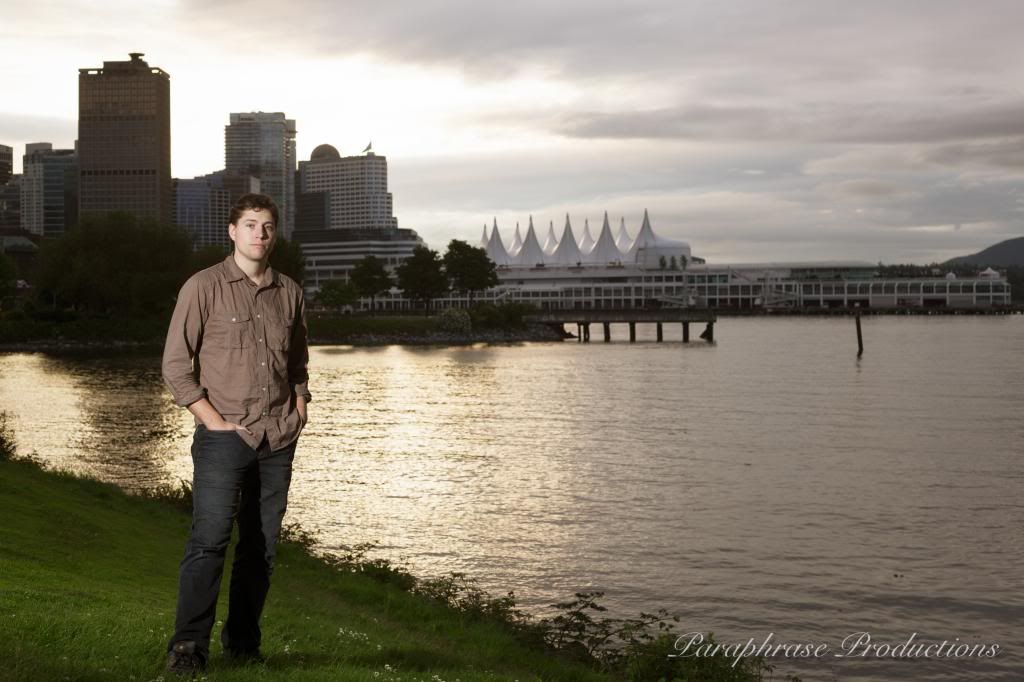
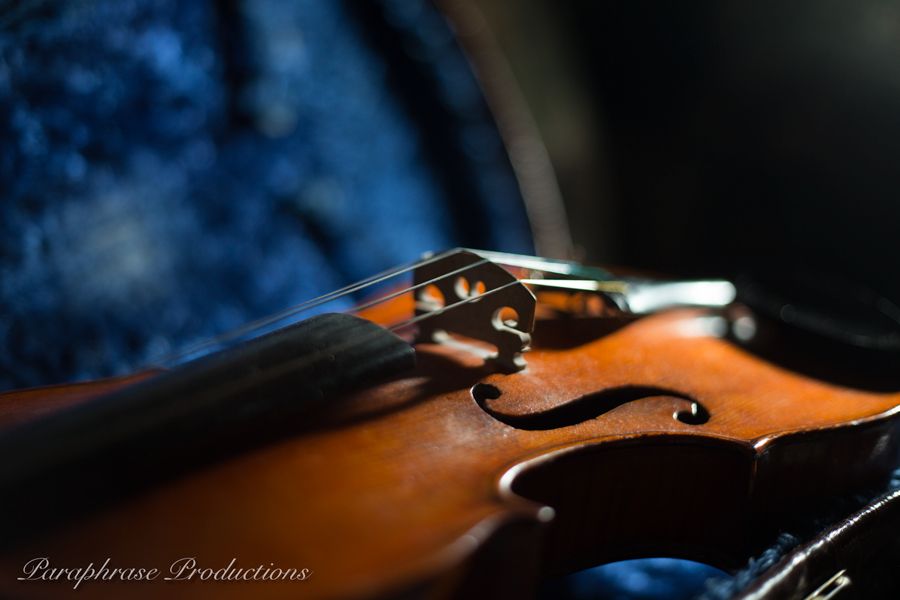
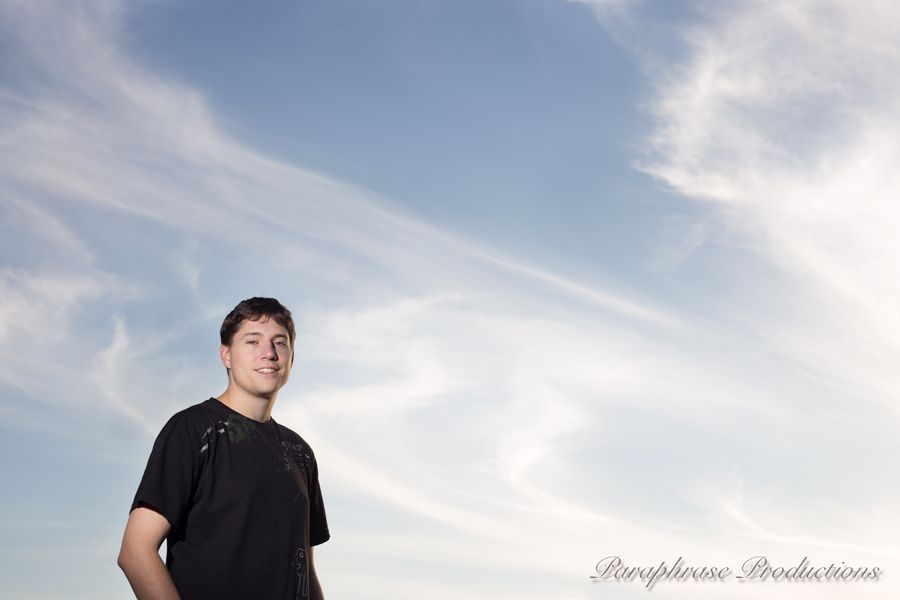
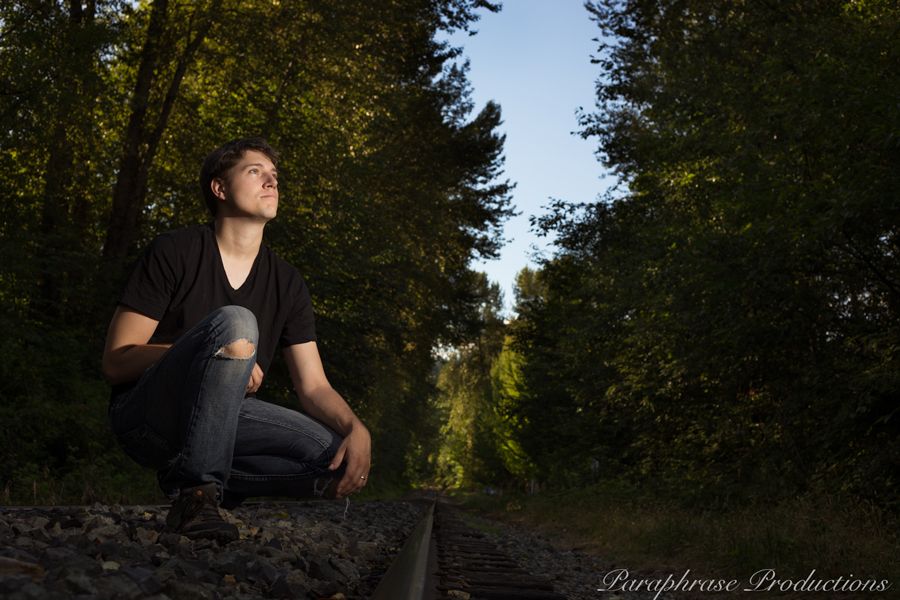
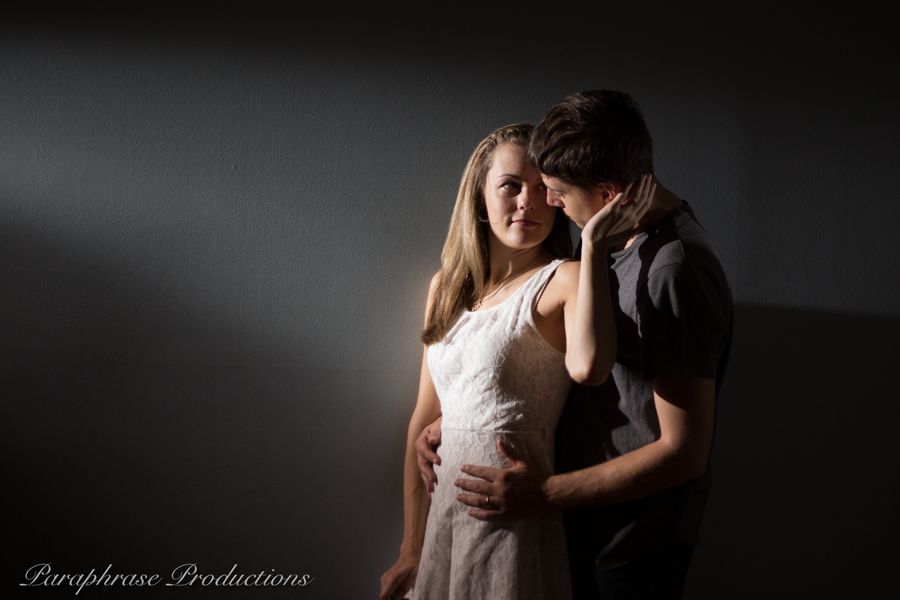
I finished my first actual photography course a couple of weeks ago, and it sure feels nice to be sort of lazy again, without daily homework assignments.  After I spent about 6 hours trying to figure out how to set up an off-camera flash (after buying the wrong one), it was significantly more downhill from there.  Those first few hours included a lot of trips to London Drugs, dead batteries, putting things on backwards, and setting my pants on fire.  So... apparently even my weakest flash is quite hot if you fire it when it's face down in your lap!  But we all survived, and here is the end result :)


I would like to extend a big thank you to all my wonderful subjec... I mean husband, friends and inanimate objects that allowed me to take "just one more picture" until I got the shot.  And also to my fellow class mates and wonderful teacher, Michelle Turner (see link above for her class), who put up with a very talkative (yes, even online) participant with 101 questions.  You're all the best!